10 Quick Meal Prep Ideas for Busy Women
Meal prepping doesn’t have to be a chore, especially for busy women juggling multiple responsibilities. With these 10 time-saving meal prep ideas, you’ll whip up delicious and healthy meals in no time. Say goodbye to last-minute takeout and hello to easy, homemade goodness that fits your hectic lifestyle!
One-Pan Sheet Meals for Quick Clean-Up
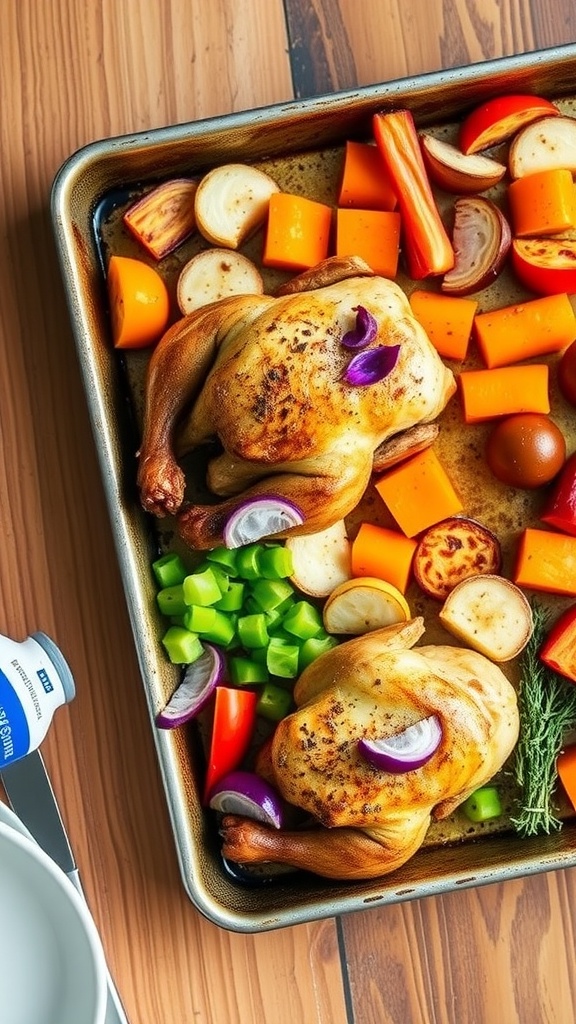
One-pan sheet meals have become a go-to for busy women looking for flavorful dinners without the fuss. This recipe combines juicy roasted chicken with a medley of colorful vegetables, creating a satisfying dish that’s both comforting and nutritious. The simplicity of tossing everything together ensures a quick prep time, making it perfect for those hectic evenings.
With just one pan to clean, you can enjoy a delicious meal without the hassle of multiple pots and dishes. The chicken is seasoned beautifully, while the veggies absorb all the savory flavors as they roast. This recipe is about convenience without skimping on taste!
Ingredients
- 2 whole small chickens (about 3-4 lbs each)
- 4 cups mixed seasonal vegetables (carrots, bell peppers, potatoes, onions)
- 2 tablespoons olive oil
- 1 teaspoon garlic powder
- 1 teaspoon onion powder
- 1 teaspoon paprika
- Salt and pepper to taste
- Fresh herbs (like thyme or rosemary) for garnish
Instructions
- Preheat the oven to 425°F (220°C).
- In a large bowl, toss the mixed vegetables with olive oil, garlic powder, onion powder, paprika, salt, and pepper until well coated.
- Place the seasoned chickens in the center of a large baking sheet, surrounded by the vegetable mixture.
- Roast in the preheated oven for about 60-75 minutes, or until the chickens reach an internal temperature of 165°F (75°C) and the vegetables are tender.
- Remove from the oven and let rest for 10 minutes before serving. Garnish with fresh herbs and enjoy!
Mason Jar Salads for Fresh Lunches
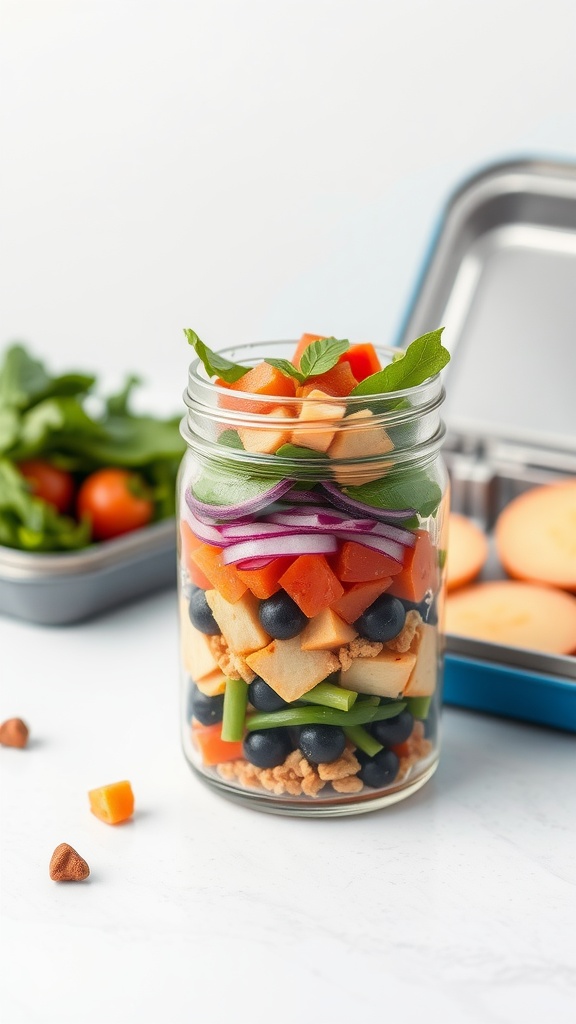
Mason jar salads are a fun, convenient way to enjoy fresh lunches without the hassle of meal prep every day. These colorful salads are packed with layers of your favorite vegetables, grains, and proteins, all sealed in a jar to keep them crunchy and fresh. The flavors blend beautifully, making each bite delightful and satisfying.
Making mason jar salads is super simple. Just layer your ingredients in a jar, starting with the dressing at the bottom to prevent sogginess. This way, when you’re ready to eat, just shake it up and enjoy a healthy meal. Plus, they’re perfect for on-the-go lifestyles!
Ingredients
- 1/2 cup quinoa (cooked)
- 1 cup spinach leaves
- 1/2 cup cherry tomatoes, halved
- 1/2 cup cucumber, diced
- 1/4 cup red onion, thinly sliced
- 1/2 cup bell peppers, diced
- 1/4 cup feta cheese, crumbled (optional)
- 1/4 cup balsamic vinaigrette or your favorite dressing
Instructions
- Start with the dressing: Pour balsamic vinaigrette into the bottom of the mason jar.
- Add quinoa as the next layer, ensuring it absorbs the dressing’s flavors.
- Layer spinach leaves on top of the quinoa.
- Follow with cherry tomatoes, cucumber, red onion, and bell peppers, layering them as you prefer.
- If using, sprinkle feta cheese on top.
- Seal the jar tightly and store in the refrigerator for up to 5 days. When ready to eat, shake it well to mix the dressing throughout.
Slow Cooker Soups for Effortless Dinners
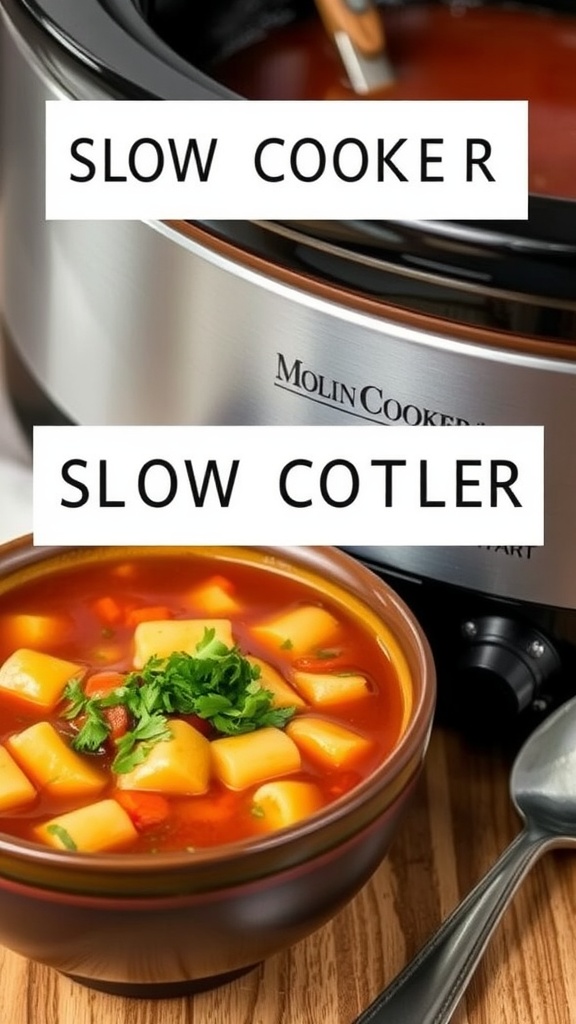
Slow cooker soups are a fantastic solution for those busy days when you want a hearty meal without spending hours in the kitchen. With minimal prep time, you can throw ingredients into the slow cooker and let it do the work while you go about your day. The result? A warm, comforting bowl of soup that’s packed with flavors and nutrients.
These soups can be customized easily with your favorite ingredients, making them not only versatile but also a great way to use up leftover veggies and proteins. Just set it in the morning, and by dinner time, you’ll be ready to enjoy a delicious homemade meal!
Ingredients
- 3 cups vegetable or chicken broth
- 1 can diced tomatoes (14.5 oz)
- 2 cups diced potatoes
- 1 cup chopped carrots
- 1 cup chopped celery
- 1 onion, chopped
- 2 cloves garlic, minced
- 1 teaspoon dried oregano
- 1 teaspoon dried basil
- Salt and pepper to taste
- 1 cup frozen corn
- 1 cup green beans, trimmed and cut
Instructions
- Combine all the ingredients in the slow cooker, ensuring that the vegetables are submerged in the broth.
- Cover and cook on low for 6-8 hours or on high for 3-4 hours, until the vegetables are tender.
- Taste and adjust seasoning with salt and pepper if needed.
- Before serving, stir in some fresh herbs like parsley or cilantro for added flavor.
- Serve hot, and enjoy the warmth of a homemade soup!
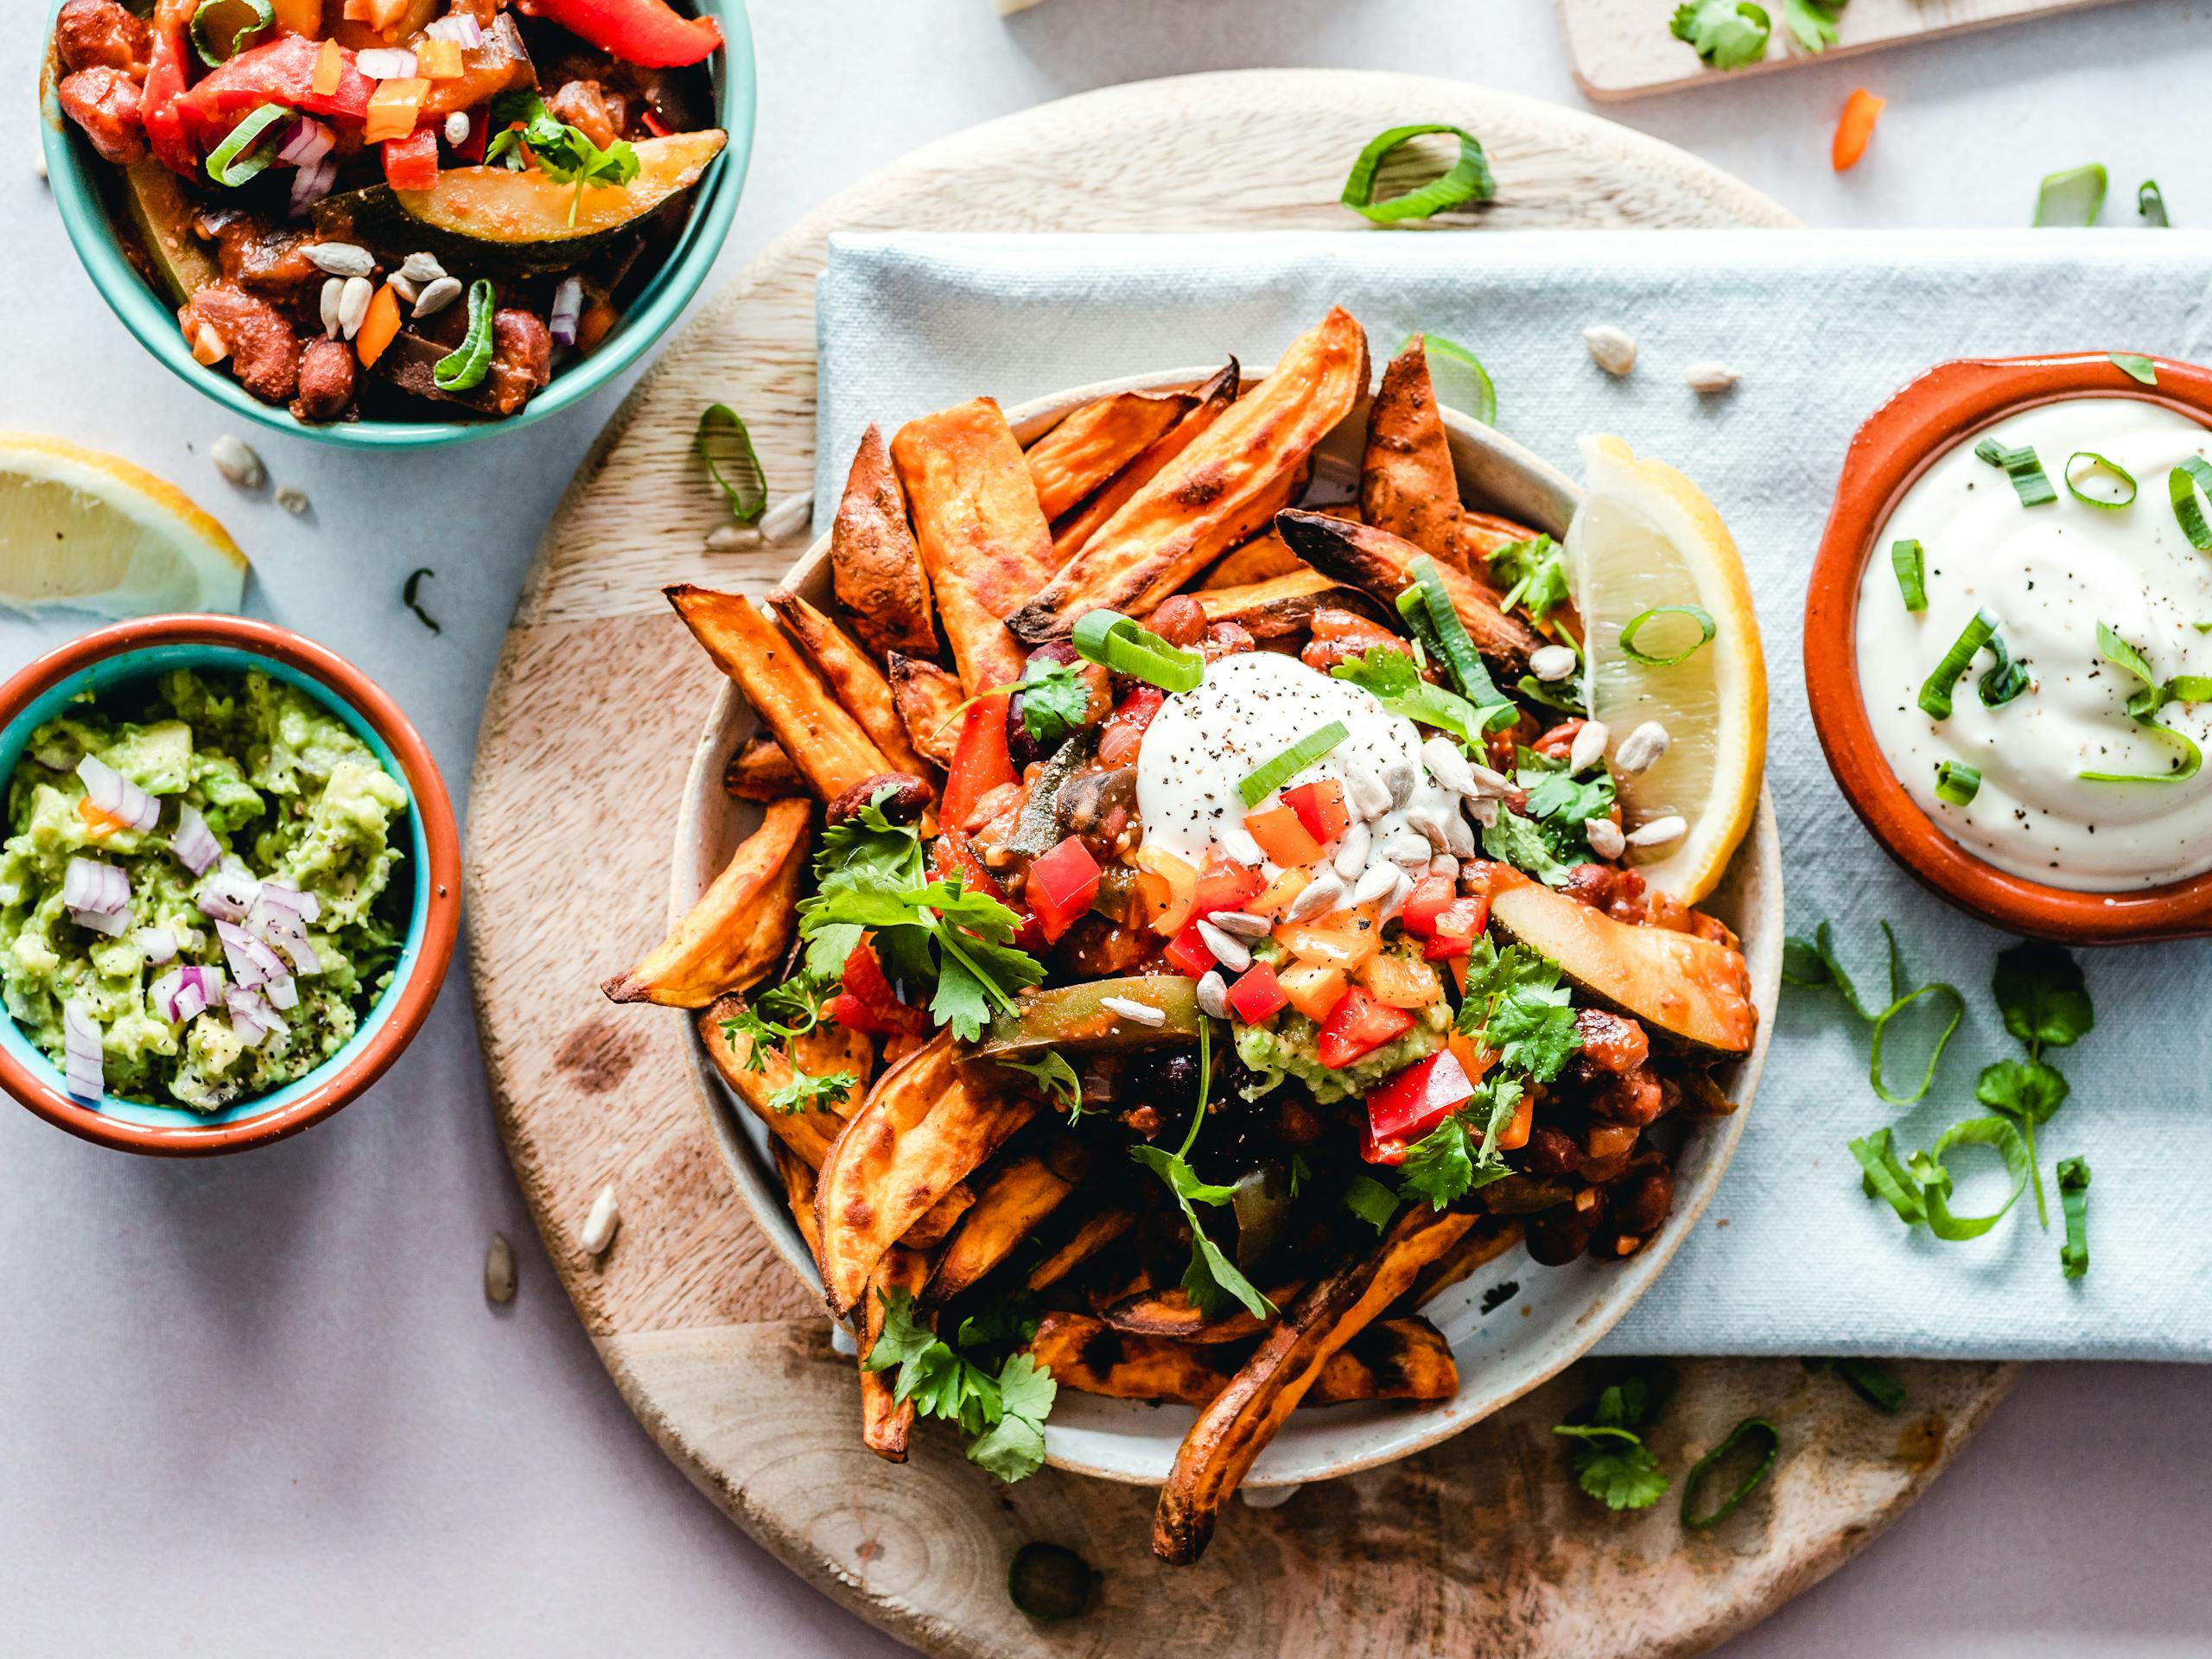
Quick Quinoa Bowls with Veggies and Proteins
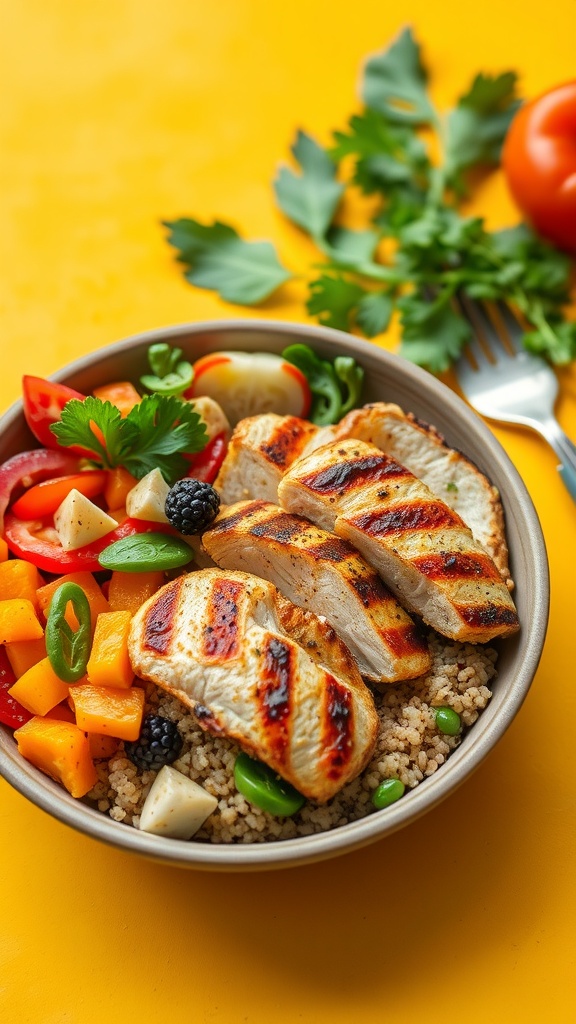
Quick quinoa bowls are a fantastic choice for busy women looking for a nutritious and satisfying meal. They burst with flavor and can be customized to fit your taste preferences. The combination of fluffy quinoa, vibrant veggies, and hearty proteins makes this dish both delicious and filling.
Plus, making these bowls is a breeze! Simply cook your quinoa, toss in your favorite vegetables, and top it with your choice of protein. It’s a quick, healthy option that keeps well in the fridge, making it perfect for meal prep.
Ingredients
- 1 cup quinoa
- 2 cups water or vegetable broth
- 1 cup chopped bell peppers
- 1 cup diced cucumbers
- 1 cup cherry tomatoes, halved
- 1 cup grilled chicken or chickpeas
- 1/4 cup chopped fresh parsley
- 1/4 cup feta cheese (optional)
- Salt and pepper to taste
- Olive oil and lemon juice for dressing
Instructions
- Cook the Quinoa: Rinse quinoa under cold water. In a medium saucepan, combine quinoa and water or broth. Bring to a boil, then reduce heat and simmer for about 15 minutes, or until liquid is absorbed. Fluff with a fork.
- Prepare the Veggies: While the quinoa cooks, chop your veggies and protein. Grilled chicken adds a tasty touch, but chickpeas are a great plant-based option.
- Assemble the Bowl: In a bowl, combine cooked quinoa, veggies, and protein. Drizzle with olive oil and lemon juice, and toss to combine. Season with salt and pepper to taste.
- Serve: Top with chopped parsley and feta cheese, if desired. Enjoy your quick and nutritious meal!
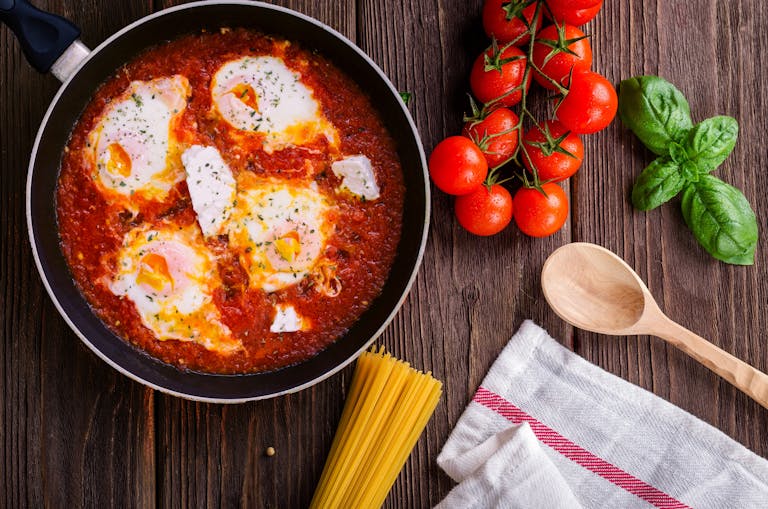
Zucchini Noodles with Pre-made Sauce
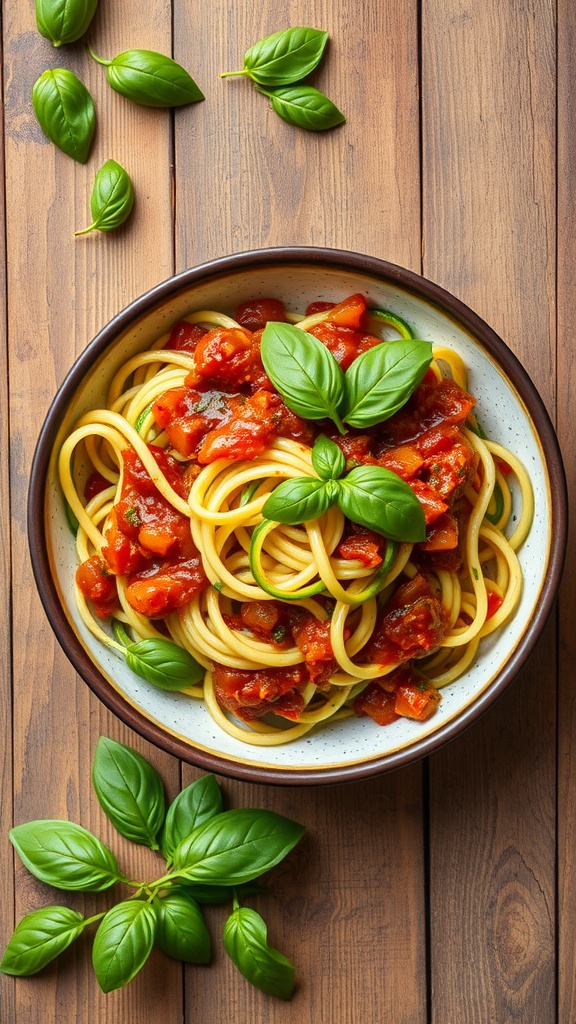
Zucchini noodles, often called “zoodles,” are a light and fun alternative to traditional pasta. They soak up flavors beautifully, making them a perfect match for your favorite pre-made sauce. This dish is simple to prepare, allowing you to enjoy a delicious meal without spending a lot of time in the kitchen.
The fresh taste of zucchini combined with a rich sauce creates a satisfying dish that’s both healthy and quick. It’s perfect for busy evenings or meal prepping for the week. Just spiralize your zucchini, heat up your sauce, and you’re ready to eat!
Ingredients
- 2 medium zucchinis
- 2 cups of your favorite pre-made marinara sauce
- 1 tablespoon olive oil
- Salt and pepper to taste
- Fresh basil leaves for garnish
Instructions
- Spiralize the Zucchini: Use a spiralizer to turn the zucchinis into noodles. If you don’t have a spiralizer, you can use a vegetable peeler to create thin strips.
- Heat the Sauce: In a pan over medium heat, add the pre-made marinara sauce. Let it simmer for about 5 minutes.
- Sauté the Zoodles: In another pan, heat olive oil over medium-high heat. Add the zucchini noodles and sauté for 2-3 minutes until just tender. Season with salt and pepper.
- Combine: Pour the heated sauce over the zoodles and toss to combine.
- Serve: Dish out the zoodles into bowls, garnish with fresh basil leaves, and enjoy your quick and healthy meal!
Freezer-Friendly Burritos for Grab-and-Go
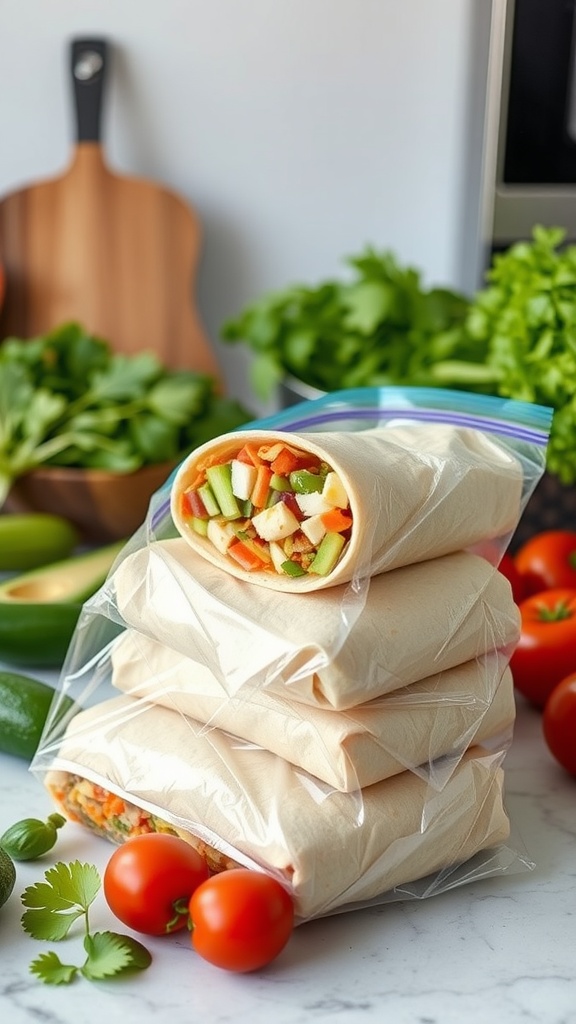
These freezer-friendly burritos are a lifesaver for busy days. Packed with your choice of savory fillings, they offer a delicious, hearty meal that can be ready in minutes. Whether it’s black beans, rice, veggies, or protein, these burritos are customizable to suit your taste.
Making them is a breeze! Just fill, roll, and freeze. When you’re ready to eat, simply heat one in the microwave or oven, and you’ve got a quick grab-and-go meal that’s both satisfying and nutritious.
Ingredients
- 4 large flour tortillas
- 1 cup cooked rice (white or brown)
- 1 can black beans, rinsed and drained
- 1 cup corn (frozen or canned)
- 1 bell pepper, diced
- 1 small onion, diced
- 1 teaspoon cumin
- 1 teaspoon chili powder
- Salt and pepper to taste
- 1 cup shredded cheese (cheddar or mozzarella)
- 1 avocado, sliced (optional)
Instructions
- In a skillet, sauté the onion and bell pepper until soft. Add the black beans, corn, rice, cumin, chili powder, salt, and pepper. Mix well and heat for about 5 minutes.
- Lay out the tortillas and evenly distribute the filling in the center of each. Add cheese and avocado if using.
- Fold the sides of the tortilla in, then roll it up tightly from the bottom. Wrap each burrito in plastic wrap or aluminum foil.
- Place the wrapped burritos in a freezer bag and store in the freezer.
- To reheat, unwrap the burrito and microwave for about 2-3 minutes, or bake in a preheated oven at 350°F (175°C) for 15-20 minutes until heated through.
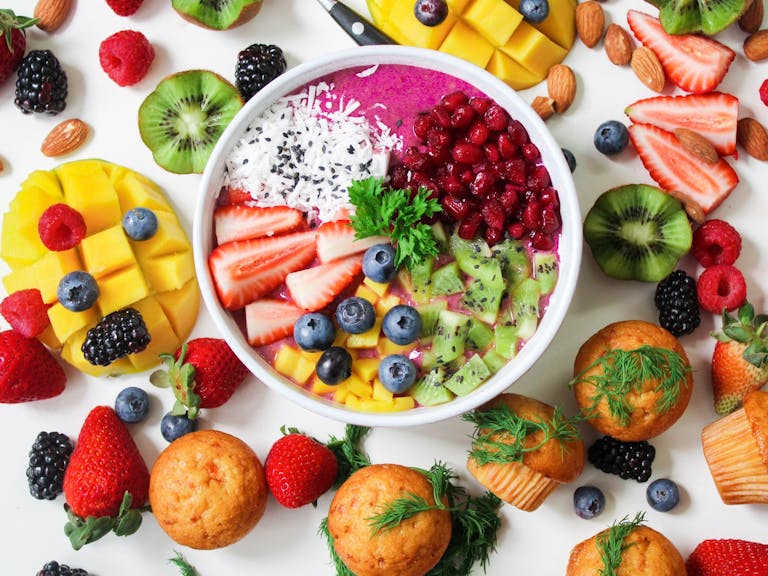
Pre-portioned Snack Packs for Munching
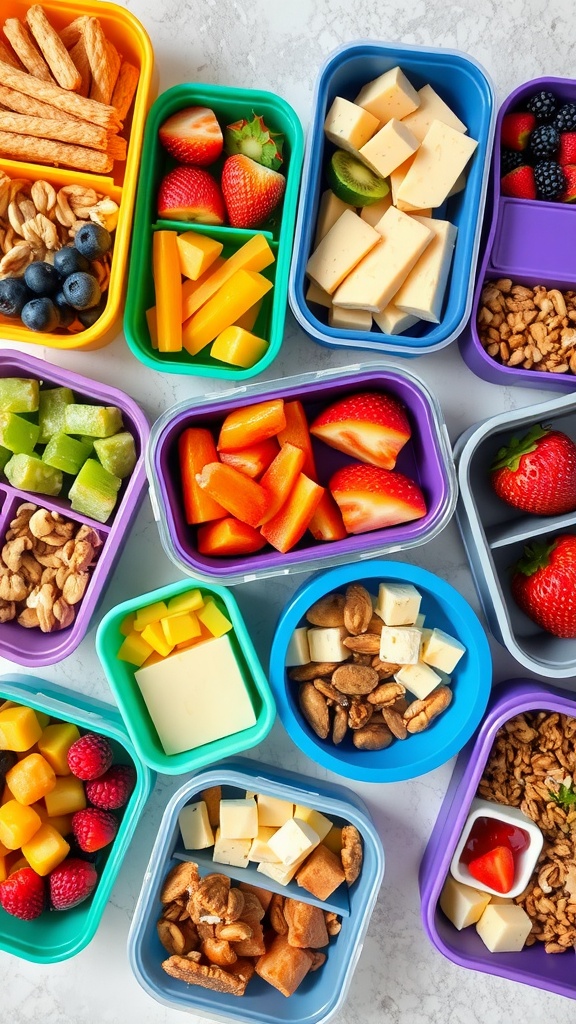
Pre-portioned snack packs are your go-to solution for healthy snacking that fits into any busy schedule. Combining fruits, nuts, cheese, and whole grains, these packs offer a delightful mix of flavors and textures. They’re not just easy to prepare but also fun to customize, ensuring you have a satisfying bite ready whenever hunger strikes.
Creating these snack packs is a breeze—simply choose your favorite ingredients, portion them into small containers, and you’re set. They can be sweet, savory, or a mix of both, catering to all taste buds. With the right balance of nutrients, these ready-to-go snacks keep your energy up throughout the day.
Ingredients
- 1 cup mixed berries (strawberries, blueberries, raspberries)
- 1 cup sliced bell peppers (red, yellow, green)
- 1 cup cubed cheese (cheddar or your favorite)
- 1 cup whole grain crackers
- 1/2 cup mixed nuts (almonds, walnuts, pecans)
- 1 cup diced fruit (pineapple, mango)
- Plain yogurt or hummus for dipping
Instructions
- Gather your containers and choose a variety of colorful fruits, vegetables, cheeses, and snacks.
- Start by adding a handful of mixed berries to each container.
- Next, layer the sliced bell peppers and cubed cheese to fill the compartments.
- Include a portion of whole grain crackers and a mix of nuts.
- If desired, add diced fruit to complement the other flavors.
- Lastly, pack a small container of yogurt or hummus for a tasty dip.
- Seal the containers and store them in the refrigerator for easy access throughout the week.
Effortless Overnight Oats with Nut Butter
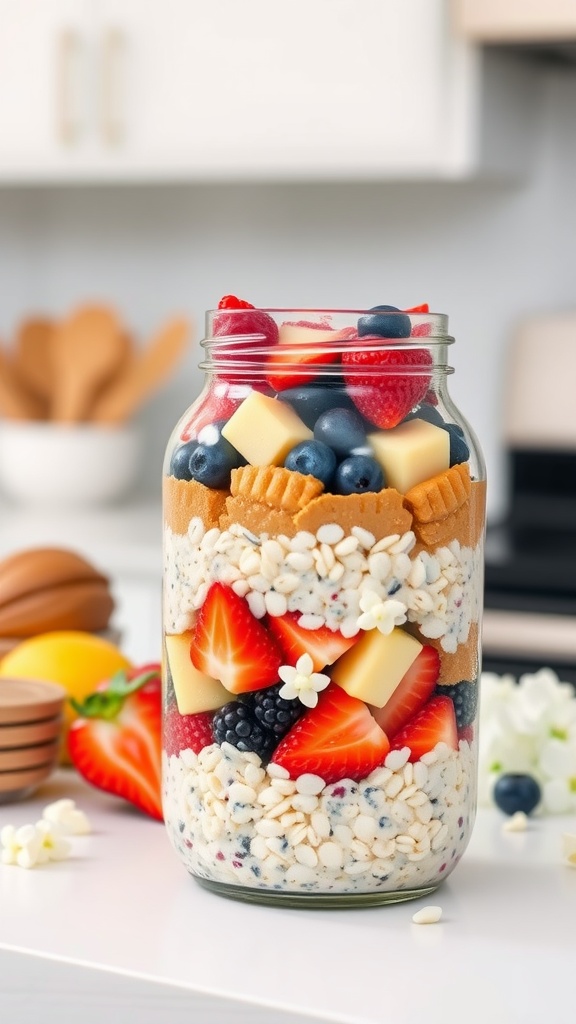
Overnight oats are a fantastic way to enjoy a nutritious breakfast without the morning rush. This recipe combines creamy nut butter with your favorite fruits, creating a deliciously satisfying meal that’s ready to go when you are. The blend of oats and nut butter provides a filling and energy-boosting start to your day.
Making overnight oats is as simple as layering your ingredients in a jar. With just a few minutes of prep the night before, you can wake up to a delightful breakfast that tastes indulgent but is incredibly healthy. Plus, the versatility allows you to customize it to suit your taste preferences!
Ingredients
- 1/2 cup rolled oats
- 1 cup milk (dairy or non-dairy)
- 2 tablespoons nut butter (peanut, almond, or your choice)
- 1 tablespoon chia seeds (optional)
- 1 tablespoon honey or maple syrup (optional)
- 1/2 cup mixed berries (strawberries, blueberries, raspberries)
- 1/4 cup diced apples or bananas
- 1/4 teaspoon cinnamon (optional)
Instructions
- In a jar or bowl, combine the rolled oats, milk, nut butter, chia seeds, and sweetener if using. Stir well to combine.
- Add the fruits on top—layer the berries and diced apples or bananas for added texture and flavor.
- If desired, sprinkle cinnamon on top for extra warmth.
- Cover the jar or bowl and refrigerate overnight (or at least for 4 hours).
- The next morning, give the oats a good stir and enjoy cold, or warm them up in the microwave if you prefer them hot.
Batch-Cooked Grains for Versatile Meals
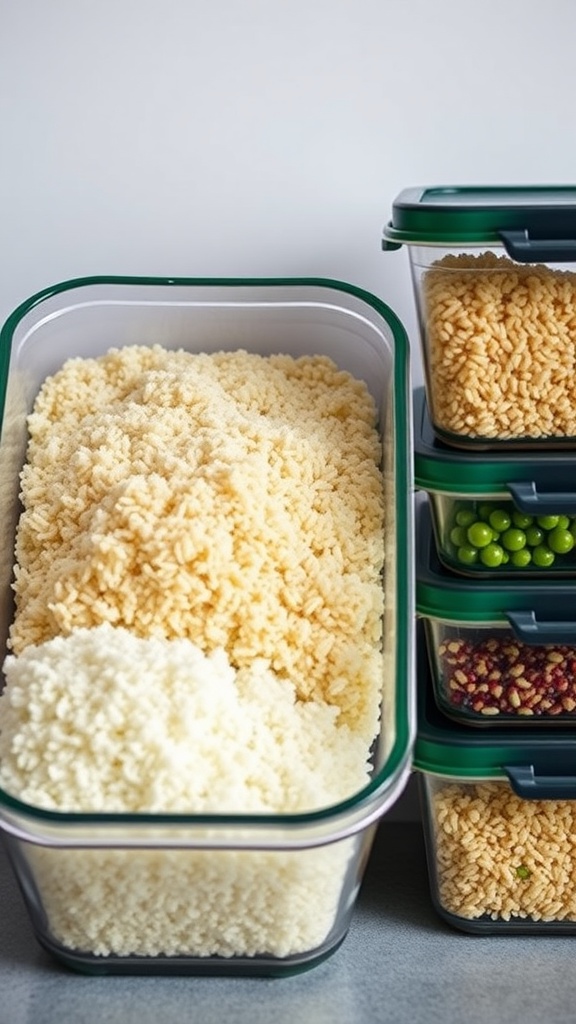
Batch-cooking grains is a fantastic way to save time during busy weeks. With just a bit of planning, you can have a variety of grains ready to go, each bringing its own unique flavor and texture to your meals. Whether you’re a fan of quinoa, brown rice, or couscous, these grains can be the base for countless dishes, making them both versatile and delicious.
This method is incredibly simple. Cook large batches of your favorite grains and store them in airtight containers in the fridge. You can easily mix and match with different proteins and vegetables throughout the week. This not only simplifies meal prep but also keeps your meals interesting and satisfying.
Ingredients
- 2 cups quinoa
- 4 cups water or vegetable broth
- 2 cups brown rice
- 4 cups water
- 2 cups couscous
- 2 cups boiling water
- Salt to taste
Instructions
- Prepare Quinoa: Rinse quinoa under cold water to remove bitterness. In a pot, combine rinsed quinoa and water or broth. Bring to a boil, reduce heat to low, cover, and simmer for 15 minutes.
- Cook Brown Rice: In another pot, combine brown rice and water. Bring to a boil, reduce heat, cover, and cook for about 45 minutes or until all water is absorbed.
- Make Couscous: Place couscous in a bowl and pour boiling water over it. Cover and let it sit for about 5 minutes, then fluff with a fork.
- Storage: Once cooked, allow the grains to cool. Divide into containers and refrigerate for up to a week. Enjoy them in salads, bowls, or as a side dish!
Herb-Infused Oils for Flavorful Dishes
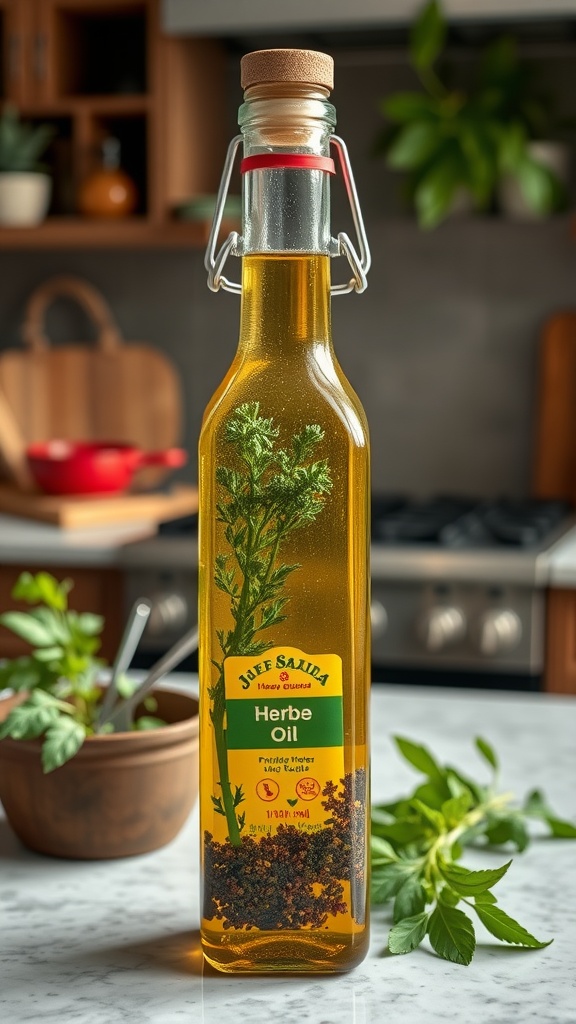
Herb-infused oils are a fantastic way to add a burst of flavor to your meals without much effort. They are simple to make and can elevate everything from salads to roasted vegetables, making them a perfect addition to your meal prep routine. Customize them with your favorite herbs for a personal touch!
This recipe for herb-infused oil combines the freshness of herbs with the richness of olive oil, creating a versatile condiment that can be stored and used throughout the week. With just a few ingredients and minimal prep time, you’ll have a delicious oil that enhances your dishes in no time.
Ingredients
- 1 cup extra virgin olive oil
- 1/4 cup fresh herbs (such as basil, rosemary, or thyme)
- 2-3 cloves garlic, smashed (optional)
- 1 teaspoon red pepper flakes (optional)
Instructions
- Prepare the Herbs: Rinse the fresh herbs under cold water and pat them dry with a paper towel. If using garlic, smash the cloves to release their flavor.
- Combine Ingredients: In a small saucepan, combine the olive oil, herbs, garlic, and red pepper flakes (if using). Heat the mixture over low heat for about 10-15 minutes, ensuring that the oil does not boil.
- Strain the Oil: After the oil has infused, remove it from heat and let it cool slightly. Strain the oil into a clean bottle or jar, discarding the solids.
- Store the Oil: Seal the bottle and store it in a cool, dark place. Use within a month for the best flavor.